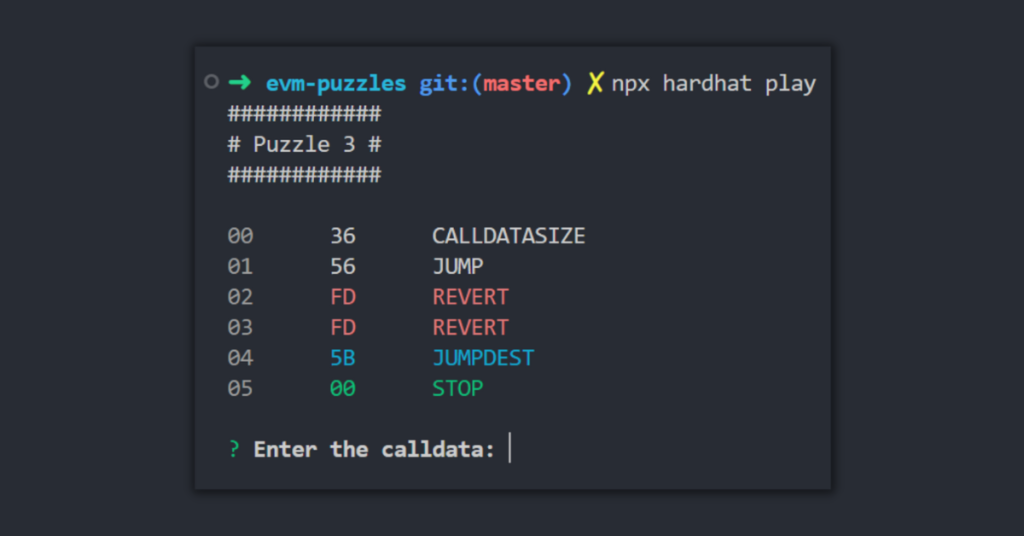
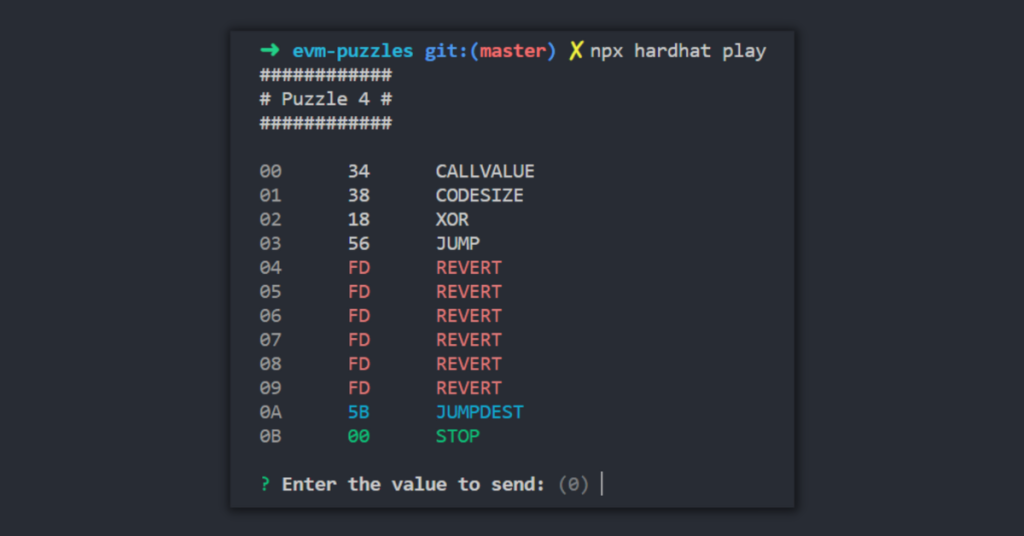
EVM Puzzles is a GitHub repo from fvictorio containing a collection of puzzles to teach how the EVM operates.
For each challenge we are supplied with the bytecode of the contract, the objective is to send a successful transaction.
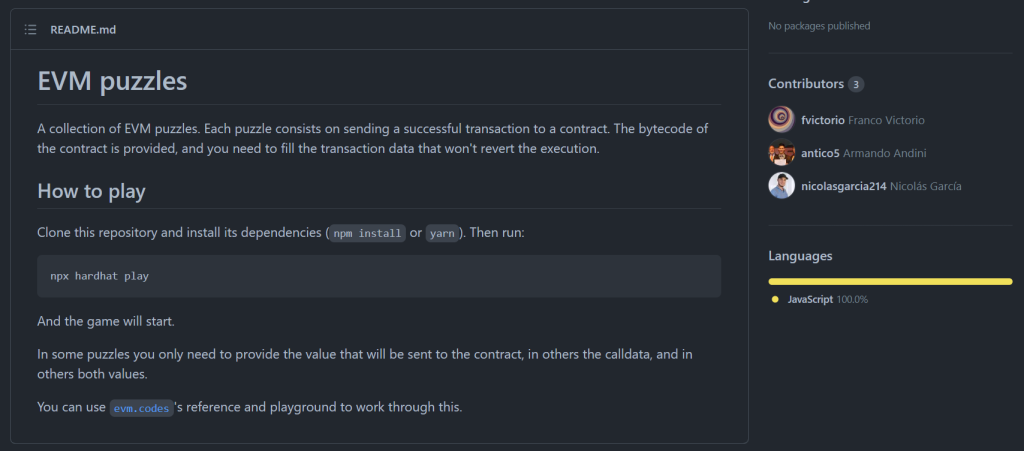
In some puzzles you only need to provide the value that will be sent to the contract, in others the calldata, and in others both values.
Main Docs Page
Let’s Get Started
We need to start by cloning the repository.
git clone https://github.com/fvictorio/evm-puzzles.gitChange directory.
cd evm-puzzlesInstall dependencies.
npm install
Once everything has installed we are ready to start the game.
npx hardhat play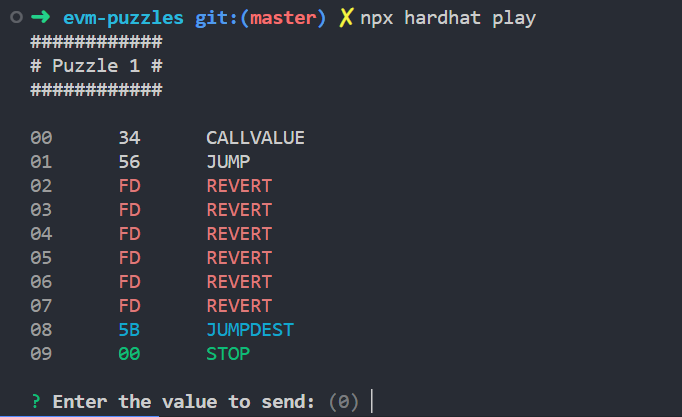
Puzzle 1 has given us our first list of opcodes and asks us for a value to send.
evm.codes EVM Opcodes & Playground
Looking back at the docs from evm-puzzles, it suggested evm.codes‘ opcodes reference and playground to solve the puzzles.

Using the menu at the top we can navigate to the evm.codes playground.

Once we are on the playground we can change the contract to bytecode with this drop down menu.
Erasing the sample contract and then entering in the opcodes from our puzzle will give us an overview of our contract.
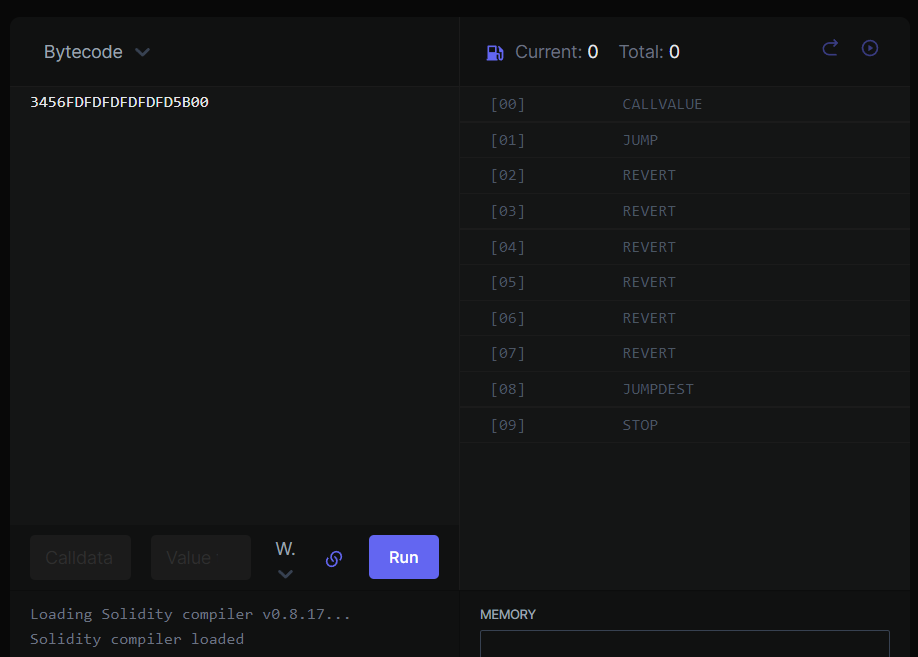
Remember the goal of each puzzle is to send a transaction that does not revert.
Inspecting some of the Opcodes we can get an idea for how the contract works.
Opcodes
| INDEX | OPCODE | NAME |
| [00] | 34 | CALLVALUE |
| [01] | 56 | JUMP |
| [02] | FD | REVERT |
| [03] | FD | REVERT |
| [04] | FD | REVERT |
| [05] | FD | REVERT |
| [06] | FD | REVERT |
| [07] | FD | REVERT |
| [08] | 5B | JUMPDEST |
| [09] | 00 | STOP |
There are 5 different Opcodes here, let’s define what they do starting at the top of the stack as described by the opcodes reference chart.
- 34 CALLVALUE “Get deposited value by the instruction/transaction responsible for this execution”
- 56 JUMP “Alter the program counter”
- FD REVERT “Halt execution reverting state changes but returning data and remaining gas”
- 5B JUMPDEST “Mark a valid destination for jumps”
- 00 STOP “Halts execution”
What instantly jumps out at me is the 6x FD REVERT back to back, with 56 JUMP on one side and 5B JUMPDEST on the other end.
Program Counter
Since we don’t want our transaction to halt execution and revert, I believe we should inspect the JUMP and JUMPDEST codes a bit closer.
From the notes in 56 JUMP we learn about an important part of how the deployed code actually executes.
The program counter is a byte offset in the deployed code to indicate which instruction will execute next.

In the simplest example given, when an 01 ADD is executed the program counter is incremented by 1 since the instruction is 1 byte.
The JUMP instruction can alter the program counter and break the linear path of execution to a different point in the stack.

JUMPDEST is simply the valid destination for us to JUMP to.
Knowing this I believe we can solve Puzzle 1.
Puzzle 1 Solution
Puzzle 1’s first instruction is CALLVALUE (34)

This takes the value of the call in wei and puts it atop the stack.
Knowing this, we must pass the correct value to this CALLVALUE instruction, leading to the JUMP instruction correctly ending at the JUMPDEST.
Doing some testing in the playground, let’s send a transaction with a value of 1 wei.

If we follow the execution of the stack, when we get to the JUMP we run into an [Error] invalid JUMP.
So we are on the right track but we need to rethink what value we are sending with the transaction.
Looking back at the JUMP documentation, the stack input takes “counter: byte offset in the deployed code where execution will continue from. Must be a JUMPDEST instruction.”
Knowing this the byte offset of our JUMPDEST is 8.
Let’s retry the transaction with a value of 8 wei.

Upon reaching the JUMP instruction, we no longer run into an error, we JUMP down to byte offset 8 AKA our JUMPDEST.
Let’s go back to our original terminal and submit our value of 8.

Success!
We have solved the first EVM puzzle! Way to go.
I hope this post can serve as a guide to getting started with EVM puzzles.
Be on the lookout for more puzzle level walk-throughs in the days to come.
DAVE

